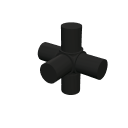
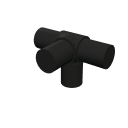
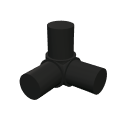
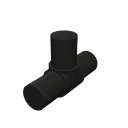
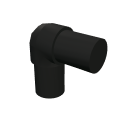
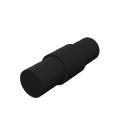
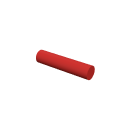
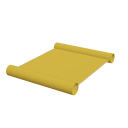
This official model takes 112 parts, covers 203 × 125 cm, stands 115 cm tall and goes together in 33 steps. The full parts list, step-by-step instructions and the sets that build it are below.
Build from the bottom up, level by level: first the connectors and tubes of a level, then the uprights to the next one, and panels and fabric once the frame stands. Follow along in 3D →
Step 1 · Level 1: connectors and tubes on the floorSpace 3-way× 2Tube 35 cm× 1
Step 2 · Uprights up to level 2Tube 35 cm× 4
Step 3 · Level 2: connectors and tubes 2 cm upSpace 3-way× 2Elbow× 2Tube 35 cm× 2
Step 4 · Uprights up to level 3Tube 35 cm× 6
Step 5 · Level 3: connectors and tubes 4 cm upSurface 3-way× 2Elbow× 2Tube 35 cm× 3
Step 6 · Uprights up to level 4Tube 35 cm× 4
Step 7 · Level 4: connectors and tubes 19 cm upSpace 4-way× 2Tube 35 cm× 1
Step 8 · Uprights up to level 5Tube 35 cm× 4
Step 9 · Level 5: connectors and tubes 21 cm upSurface 3-way× 2Straight× 2
Step 10 · Uprights up to level 6Tube 35 cm× 6
Step 11 · Level 6: connectors and tubes 35 cm upElbow× 2
Step 12 · Uprights up to level 7Tube 35 cm× 2
Step 13 · Level 7: connectors and tubes 37 cm upSpace 4-way× 2Tube 35 cm× 1
Step 14 · Uprights up to level 8Tube 35 cm× 2
Step 15 · Level 8: connectors and tubes 39 cm upSpace 5-way× 2Space 4-way× 2Tube 35 cm× 3
Step 16 · Uprights up to level 9Tube 35 cm× 4
Step 17 · Level 9: connectors and tubes 54 cm upSurface 3-way× 2
Step 18 · Uprights up to level 10Tube 35 cm× 2
Step 19 · Level 10: connectors and tubes 56 cm upSpace 4-way× 2Elbow× 2Tube 35 cm× 1
Step 20 · Uprights up to level 11Tube 35 cm× 6
Step 21 · Level 11: connectors and tubes 73 cm upStraight× 2
Step 22 · Uprights up to level 12Tube 35 cm× 2
Step 23 · Level 12: connectors and tubes 75 cm upSpace 4-way× 2Surface 3-way× 2Tube 35 cm× 1
Step 24 · Uprights up to level 13Tube 35 cm× 4
Step 25 · Level 13: connectors and tubes 91 cm upSurface 3-way× 2
Step 26 · Uprights up to level 14Tube 35 cm× 2
Step 27 · Level 14: connectors and tubes 110 cm upSpace 3-way× 2Elbow× 2Tube 35 cm× 2
Xiaomaifang is an independent project run by one person and has no connection with QUADRO DER GROSSBAUKASTEN GmbH. QUADRO is a trademark of its owner and is mentioned only to say which products this tool is meant for. All 3D images on this page are rendered by Xiaomaifang.